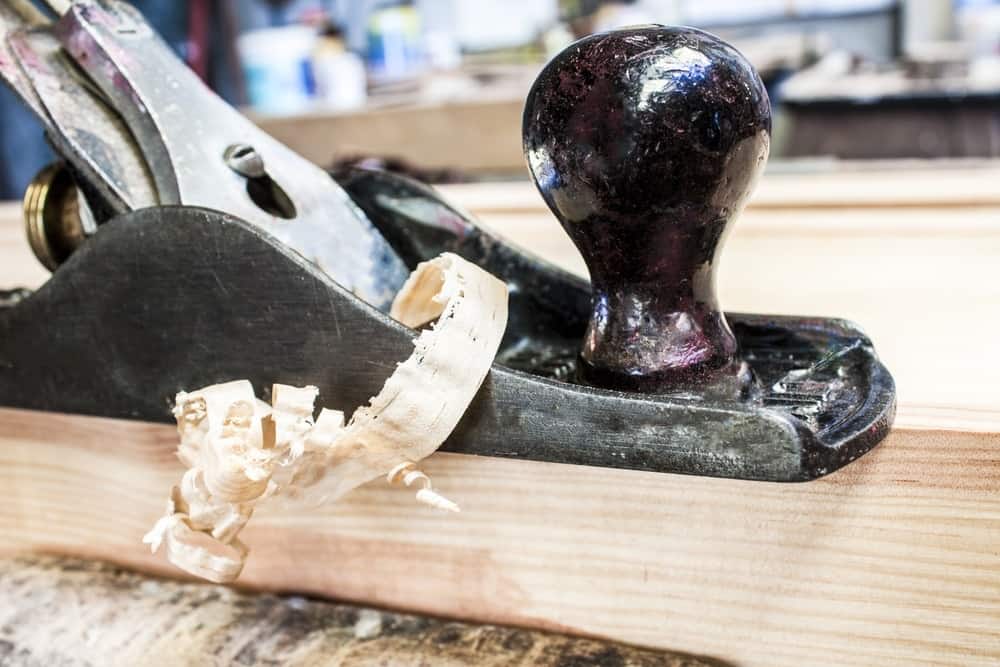
A Beginner’s Guide to Woodworking
Contents

Joining Woodwork Nation is an important first step. As a beginner, you have many questions about the tools, materials, and ideas that you’re going to be looking at. Don’t think that you need to spend thousands of dollars or need skills in place before you get going on your first project. You do, however, need to be prepared for what you’re about to encounter.
That’s what this beginner’s guide to woodworking is all about. Let’s get ready to make something fantastic.
Learning Lesson #1: Choosing Your Wood
There are many different types of wood available to you today for your next woodworking project. Knowing how to choose the right lumber for woodworking doesn’t have to be a complicated process. Let’s go through the selection process.
Do I need hardwood or softwood? If your project needs to withstand heavy wear, a hardwood such as oak or maple is usually the better option. Softwoods like pine are cheaper and easier to work for shop projects and painted pieces.
How do I find the right grain? Look at the growth rings on the end of the board. Rings that run close to vertical (perpendicular to the wide face) mean the board will hold its shape better.
What is the right cut? Most lumber is flat sawn (plain sawn). It shows arched “cathedral” grain and is the most likely to cup and warp. As Popular Woodworking explains, quartersawn and rift sawn boards are more stable, with straighter grain lines.
Are there any defects in the wood? You’ll find that wood can have a number of defects that could cause problems with your woodworking project. Knots are the most common defect, but you will also want to look for splits, insect holes, and sapwood if you need even color. Boards that were stored badly can cup, bow, twist, check, or crook. Avoid defects in parts that need to be strong or flat.
How thick is the wood? In the US, there is a certain “lumberyard lingo” you’ll want to get to know. This will help you to understand how thick the wood happens to be. Hardwood thickness is sold in quarters of an inch, measured rough before planing. A 4/4 (“four-quarter”) board is 1 inch thick rough, 6/4 is 1-1/2 inches, and 12/4 is 3 inches. Expect the finished thickness to be less after surfacing.
A moisture meter helps you check that the wood is dry enough to use indoors.
This video will show you how to choose the best wood at a lumberyard.
[ot-video]
[/ot-video]
Learning Lesson #2: Drilling
When you’re ready to make some sawdust, the most important skill that you can know is how to drill a proper hole. It might seem like a pretty easy thing to do. After all, you’ve probably driven some screws into a wall, hung pictures, and used a cordless drill for other purposes in the past.
In the world of woodworking, however, there are a few tricks that will help you to improve your drilling skills so that your project can be completed quickly, effectively, and cleanly. Here are a few of the key attributes you’ll want to consider practicing as you work to improve your woodworking skills.
- Catching Dust. Dust on your bench hides layout marks and makes accurate work harder. Breathing it is a health issue too: OSHA notes that wood dust can cause airway irritation and allergic reactions and is linked to cancer. Use dust collection and a dust mask.
- Creating Guides. There’s nothing worse than drilling a hole, only to realize that you didn’t drill it in the right way. When you know how to create drilling guides, you’ll be able to place the drill hole in the right location and at the right angle every single time.
- Hole Depth. A depth stop or a piece of tape on the bit keeps you from drilling too deep or through the face of your project.
You’ll also want to take a look at understanding what pilot holes are and how you can create them consistently.
This video will take you through all of the learning lessons that will help to guide you through this important skill in woodworking.
[ot-video]
[/ot-video]
Learning Lesson #3: Cutting
When you purchase lumber for a woodworking project, there’s a good chance that it won’t be the exact size or shape that you need it to be. This means you’ll need to know how to cut the wood properly so that you can complete the project you’re working on. There are several options that can help you to cut the lumber properly, but there are three primary saw options that you’ll want to consider adding to your portfolio.
- Jigsaws. A jigsaw has a reciprocating blade, which makes it a useful all-around tool. It cuts curves well, so it suits projects that don’t need a perfectly straight cut. Blades come in many tooth patterns, and most modern jigsaws take standard T-shank blades. Our guide to the best jigsaws covers models at several price points.
- Hand Saws. This is a good option for those quick cuts that you need to make. Using a miter box with a handsaw can help you to create a pretty straight cut. Handsaws take more effort than power saws, but they are quiet, cheap, and precise once you practice. Handsaws are designed to complete specific tasks, so you may need a variety of different wood saws in this category to meet your woodworking needs.
- Circular Saws. When you need to make a long, straight cut, then a circular saw is going to be your best friend in the woodworking world. It takes practice, so make some cuts on scrap lumber first. Support the board so the cut doesn’t pinch the blade, keep the guard working, and stand to the side of the cut. Our circular saw reviews will help you pick the right one for your budget in no time.
There are several other saws and tools that are available to woodworkers, including miter saws, reciprocating saws, and radial arm saws, plus router tables. Each has its own unique strengths and weaknesses that must be considered for the project you’re working on.
This video will help you to become more familiar with using a circular saw.
And this video will help you become more familiar with the processes involved with using a handsaw.
Learning Lesson #4: Affixing
Sooner or later you’ll need to join one board to another. Glue, nails, and screws all have a place, but screws pull joints tight and can be removed later.
With the hundreds of different sizes, types, and point options that are available, how can you make sure that you’re using the right screw for your woodworking project?
Here are four common screw types and where each fits.
- Drywall screws. These have a bugle head, a sharp point, and threads along most of their length. They are made to hang drywall on studs. They work for shop jigs, but they are hardened and brittle, so use wood screws for furniture joints.
- Sheet metal screws. If you are using metal with your woodworking projects, then you’ll want to have these screws on-hand. They are threaded from head to tip and cut their own threads in thin metal, though a pilot hole helps.
- Machine screws. There can be a lot of variety when looking at these screws in thickness and length. They have fine, uniform threads and don’t grip wood on their own. In woodworking, they go into a nut or a threaded insert, often with a washer, so parts can be taken apart.
- Wood screws. Wood screws come in many lengths and gauges. Traditional ones have a smooth shank under the head, which lets the screw pull the top board tight. Flat-head versions sit flush in a countersink. Drill a pilot hole, especially in hardwood, to avoid splitting.
There isn’t one screw for every job. Match the screw to the materials you are joining.
Once you’ve picked out the right screws, there are certain affixing skills that you may wish to consider working on as well. This video can help you to learn how to perfectly countersink a wood screw.
This video will help you learn how to remove a screw that may have a damaged head.
And this video will show you how screws can be used effectively with anchors.
Learning Lesson #5: Sanding
Good sanding technique makes or breaks a finish. Sanding removes splinters, tool marks, and rough edges, and it prepares the surface to take paint or stain evenly.
There are three general types of sanding that can be found in the woodworking space.
- Hand Sanding. You run sandpaper over your wood by hand, ideally wrapped around a sanding block so the surface stays flat. Sand with the grain for the final passes.
- Orbital Sanding. A random orbit sander spins and oscillates a round sanding disc, leaving a smooth, swirl-free surface quickly. It is the most useful power sander for beginners. Its round pad can’t reach into inside corners, so finish those by hand.
- Belt Sanding. Belt sanders are large and aggressive. They level boards, remove old finish, and shape edges fast, but they can also gouge a surface if you let them sit in one spot.
For most bare wood, work up through the grits to about 180 or 220 before finishing. Finer grits, such as 320 to 400, are mainly for sanding lightly between coats of finish. Don’t forget to use our shop vac reviews to help you find the right model to clean up once you’re done sanding.
If you’ve never used sandpaper before and you’re nervous about doing sand woodwork by hand, this video offers a number of helpful tips and tricks that will help you build up your sanding skills pretty quickly.
This video will take you through the steps to learn how to use a random orbit sander.
And if you’ve wanted to know how to use a belt sander safely, this video offers a number of professional tips and practical advice that you can begin using today.
Learning Lesson #6: Painting, Staining, and Varnish
Once your project is built, it needs a finish. Unfinished wood looks nice at first, but it absorbs moisture, stains easily, and wears faster. That’s why an important woodworking skill involves the application of paint, stain, or varnish.
Paint is either water-based (latex or acrylic) or oil-based. Water-based paint cleans up with water and suits most projects. Oil-based paint levels well and is tough, but it is harder to clean up and needs good ventilation.
Paint sheens range from flat to high gloss. Glossier paints are more durable and washable but show every flaw. Flat paints hide imperfections and touch up easily, but they don’t stand up to wear as well.
This video will take you through the proper paintbrush techniques to use if you haven’t had much practice painting.
Sometimes you may prefer to use a stain on your woodworking project instead of paint. Staining wood can help to bring out the natural grains and tones of the lumber while adding a preferred tint to the final piece. Choosing the right wood stain requires knowing what the purpose of your woodworking project happens to be. This stain comparison chart will help you determine which option will likely work best for you.
Once you’ve chosen the best stain for your woodworking project, this video will show you how you can finish wood using stain in just 3 easy steps.
A final option is varnish, a clear coat that includes polyurethane. It dries to a hard, protective film and is often used on furniture. Apply solvent-based finishes with good ventilation, and lay oily rags flat to dry outdoors before throwing them away, since they can heat up and catch fire in a pile. This guide will help you know how to use varnish properly.
It can be a little tricky to apply varnish in a way that gives you a consistent look. This video will show you one of the best techniques to apply varnish or another polyurethane clear finish for your woodworking project.
Are You Ready to Join Woodwork Nation?
Many people avoid woodworking because they’re afraid they won’t be any good at it. Woodworking takes time to learn, but every project you finish builds the skills and confidence for the next one.
Wear safety glasses and hearing protection around power tools, and keep the dust under control.
Sources
- Using Grain Pattern to Choose Lumber, Popular Woodworking
- Wood Dust: Overview, OSHA