How To Adjust A Block Plane: 8 Simple Steps For Maximum Precision
Contents
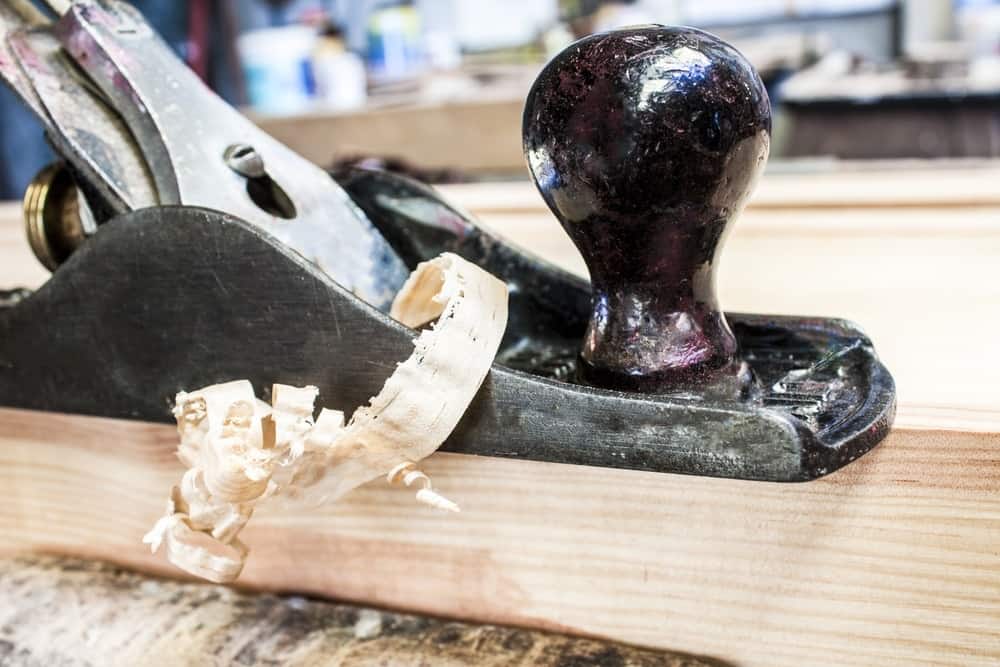
Small, compact and versatile, the block plane is a tool that can do a variety of tasks such as cleaning up the end grain of a board, fitting joints or rounding off corners. It is one of the handiest tools available and a must-have for any woodworking shop. Used block planes are often easy to find secondhand.
If you already have one and want to know how to set up and adjust a block plane, follow the steps below.
Step 1: Inspect and flatten the sole
First, make sure the sole is flat so the plane cuts accurately. Lay sandpaper on a flat surface such as plate glass, using spray adhesive to keep it from moving.
Keep the plane assembled, with the iron clamped in place but pulled well back from the mouth, since lever cap pressure slightly changes the sole’s shape. Rub the plane back and forth with even pressure. The dark powder that appears is metal coming off the sole.
Check progress with a straightedge against a bright light. Many new premium planes are ground flat at the factory, so you may only need this step on older or budget planes.
Step 2: Check the iron or remove if necessary
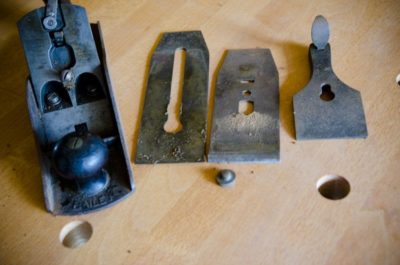
Next, inspect the iron’s cutting edge for shape and sharpness, and check that its back is flat. A block plane edge is normally straight, since it’s often used on edges that need to stay square. The iron should be razor sharp with a flat, polished back.
While you can check the given qualities while the iron is still attached in the plane, you may need to remove it to examine it thoroughly or when it already needs flattening or sharpening. To remove the iron, release the lever cap by loosening its screw or thumbwheel, flipping its cam lever, or lifting the knuckle joint, depending on your plane.
If the edge is out of square or rounded, regrind the bevel on a grinder, abrasive paper or sharpening stones (the last two are slower). Block plane irons sit bevel up, and a bevel of about 25 degrees is common; a lower bevel helps on end grain but chips more easily.
Step 3: Check the iron’s bed
Once the iron has been removed, you can now check the iron bed for debris. It is the part where the iron rests. Particles such as metal filings can get stuck on the bed and will stop the iron from completely lying flat, which affects the plane’s performance. Clean any debris found using a brush or a rag.
Step 4: Put back and adjust the iron
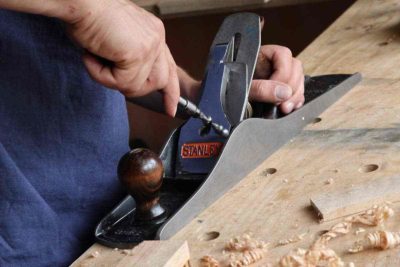
When placing back the iron, be sure to check if your plane has lateral and depth adjustment. Make sure to place the lateral adjustment plate in its respective large slot. Then, see to it that the tooth or lug of the block’s plane depth adjustment system fits perfectly in its appropriate slot.
Once the iron has been properly rested, you may now put back the lever cap on the top, located behind the crossbar or the lever cap screw. Depending on your block plane, fasten it with the knuckle-joint, thumbwheel or cam tightener.
Step 5: Make lateral adjustments
Sight down the sole from the front and advance the iron until the edge just begins to emerge from the mouth. Check that the edge is parallel to the sole across its width. If it isn’t, adjust it with your plane’s lateral lever, or shift the iron by hand if your plane has no lateral adjuster.
When making the adjustments, you may need to loosen the lever cap to reduce the pressure received by the iron. Don’t forget to tighten it once done with the procedure.
Step 6: Do depth adjustments
Sighting again down the sole, set the depth with the adjustment wheel if your plane has one, or by hand if it doesn’t. As with lateral adjustments, you may need to loosen the lever cap and then retighten it. Snug is enough; overtightening can damage the plane.
Remember, you typically need little iron depth for a block plane, especially if you are using it for end grain work. However, the first few times the block plane is used for chamfering may require a larger depth. This size will be needed until the chamfer stretches out to its appropriate size or when you can finally draw back the blade quite a little for the last strokes.
Step 7: Make mouth adjustments
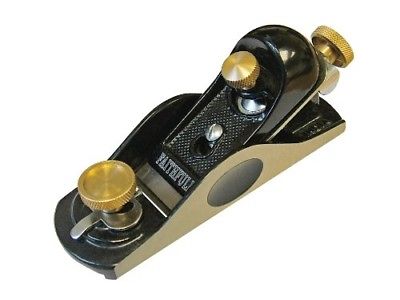
If your block plane has an adjustable mouth, match the opening to the iron depth. Thinner shavings call for a smaller mouth, and thicker shavings need a larger one.
Loosen the front knob by turning it counterclockwise. Then move the mouth plate with the lever under the knob, or by pushing or pulling the knob if there’s no lever. Tighten the knob clockwise to lock the opening.
Make sure the mouth is open enough before you advance the iron, so the edge doesn’t strike the mouth plate and chip, as Lie-Nielsen’s block plane instructions advise.
Some woodworkers keep two block planes, one set for thin shavings and one for thicker cuts, to save time readjusting.
Step 8: Test the block plane
Put all the pieces together and begin planing on scrap. Check that the shaving is uniform across its width and that the plane cuts without tearing the wood. Make further adjustments until you get the results you want.
Closing/Outro
If you’ve followed these steps, your block plane is ready for trimming, chamfering and end grain work. Sharpen and readjust it from time to time to keep it cutting cleanly.
Sources
- Step-by-Step Guide to Tuning Handplanes, Fine Woodworking
- No. 60-1/2 Adjustable Mouth Block Plane, Lie-Nielsen Toolworks