
How to Sharpen Saw Blades by Hand: The Best Guide
Contents
- How to Sharpen a Hand Saw: The Must-Have Tools
- A Vise
- A Quality Triangular File
- Saw Set
- Flat File
- Wire Brush or Sandpaper
- How to Sharpen Saw Blades by Hand: The DIY Steps
- Step One: Inspect The Saw And The Saw Blade
- Step Two: Secure the Hand Saw
- Step Three: Level off the Hand Saw’s Teeth
- Step Four: Set Your Saw and Sharpen It
- Step Five: Evening Out the Teeth
- Conclusion
- Sources
Photo by Unknown, Public domain, via Wikimedia Commons
The hand saw is one of the most basic woodworking tools, and keeping it sharp is a skill every hand tool user eventually needs.
A little time, the right files and a few simple techniques are enough to restore a dull saw. One caution first: many modern hardware-store saws have impulse-hardened teeth (often darker than the blade) that a file won’t cut. Those saws are meant to be replaced, not resharpened.
Here is how to sharpen a traditional hand saw by hand:
How to Sharpen a Hand Saw: The Must-Have Tools
To sharpen your hand saw manually, the first step is gathering all the necessary things. So here are the things you must have:
A Vise
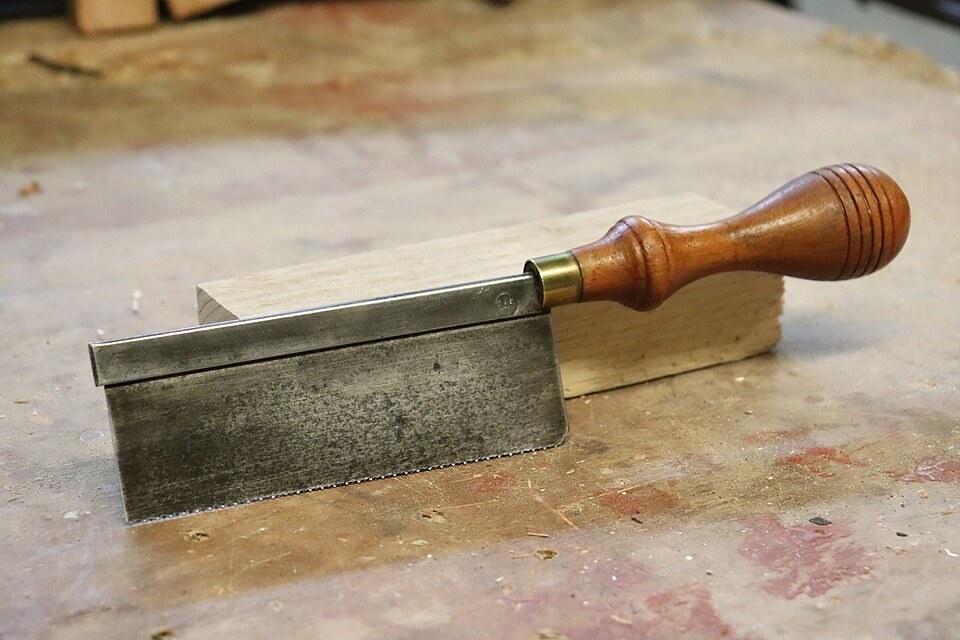
A saw vise grips the blade tightly so it doesn’t chatter as you file. You can also make one by clamping the blade between two wooden cheek boards in your bench vise.
A Quality Triangular File
Another thing you must have is a quality triangular (taper) saw file. Its faces meet at 60 degrees, and its corners are slightly rounded.
The shape files the hand saw teeth to a 60-degree included angle and leaves a slightly rounded gullet, which helps resist cracking. Match the file size to your saw’s tooth spacing: finer teeth need a smaller file. For example, Popular Woodworking pairs 12-15 points per inch with a 4- or 5-inch double extra slim taper.
Saw Set
A saw set looks like a pair of pliers and bends each tooth slightly outward from the blade. This set makes the kerf wider than the blade so it doesn’t bind in the cut.
Flat File
In addition to the triangular file, you need a flat mill file for jointing, which levels the teeth before you sharpen them.
Wire Brush or Sandpaper
An old or used hand saw often has rust or grime that you’ll need to brush or sand off first.
How to Sharpen Saw Blades by Hand: The DIY Steps
Before starting to sharpen saw blades by hand, it is important to gather all the items in your workshop or worksite. If the saw is old or rusty, we recommend that you start by sanding it off or brushing with a wire brush.
Saw teeth and fresh file burrs are sharp, so consider gloves and eye protection.
Step One: Inspect The Saw And The Saw Blade
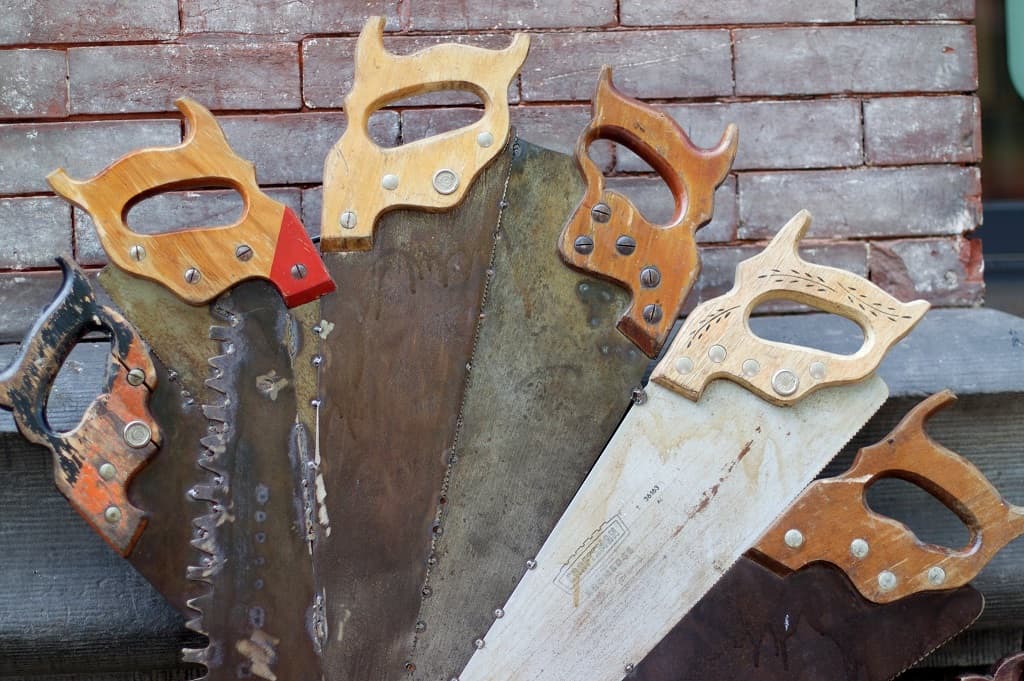
Inspect the saw to learn its type and condition. Is it a rip saw (chisel-like teeth for cutting along the grain) or a crosscut saw (knife-like, beveled teeth for cutting across it)? Count the teeth per inch, and try a file on a tooth to make sure it isn’t hardened.
Step Two: Secure the Hand Saw
Secure the saw firmly in a saw vise. If you don’t have one, place the saw between two wooden boards and clamp all three together so the blade can’t flex or chatter. See the demonstration below:
Keep the teeth as low in the jaws as you can while still reaching them, since that reduces chatter. Popular Woodworking’s saw sharpening guide clamps the saw with the gullets about 1/16 inch above the jaws for filing.
Step Three: Level off the Hand Saw’s Teeth
This is another preparatory yet crucial stage before you can start the actual sharpening. To joint the saw, run the flat mill file lengthwise along the tops of the teeth with light, even pressure, keeping the file square to the blade. Two to four passes are usually enough.
Jointing leaves a small, shiny flat on each tooth tip. When you are done, all the teeth should be the same height, and the flats will guide your filing.
Step Four: Set Your Saw and Sharpen It
Setting your saw gives it the right kerf, which prevents the saw from binding when cutting wood. Test the saw in scrap first: if it binds, it needs more set.
Adjust the saw set, then squeeze it on every other tooth along the blade. Flip the saw and set the skipped teeth in the other direction to get the perfect kerf. Use only a little set; too much makes the saw wander.
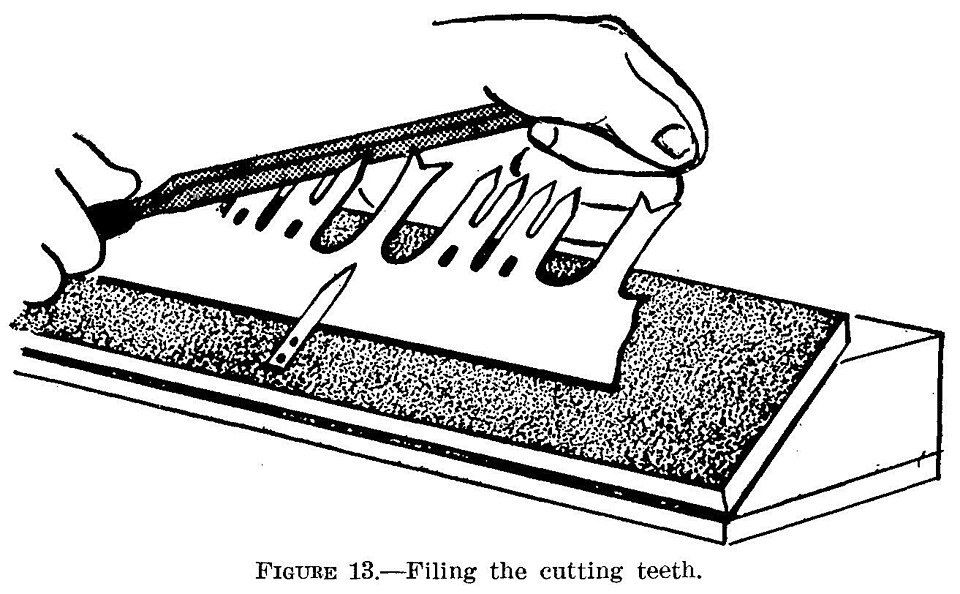
When you are done setting the saw’s teeth, it is time to start sharpening them. Using your dominant hand, hold the handle of the triangular file so that the thumb is parallel or slightly bent towards the file.
Then, hold the other point of the file with the forefinger and thumb of the non-dominant hand. At this point, the way you sharpen the saw will get different depending on the type of saw that you are sharpening.
- If you are sharpening a rip saw, file each gullet in turn, holding the file level and square across the blade. Use the same number of strokes in each gullet, and stop as soon as the jointed flat on the tooth disappears.
Rip teeth are filed square, so the file forms a T shape with the blade at 90 degrees.
- For a crosscut saw, angle the file back toward the handle by about 15 to 25 degrees (the fleam, or bevel).
File every other gullet from one side of the saw until you reach the end. Then flip the saw and file the skipped gullets from the other side at the opposite angle, so the teeth end up beveled in alternating directions.
Step Five: Evening Out the Teeth
After sharpening, some teeth may still show flat spots from jointing. Evening out means inspecting the teeth under good light to find them.
Using the triangular file, lightly file the gullets beside any tooth that still has a flat until it just disappears, and no further. On a crosscut saw, keep the same angle you used on that side of the blade.
Finally, a light pass of a fine stone along each side of the teeth removes burrs and evens out any excess set. Make a test cut in scrap to check your work.
Conclusion
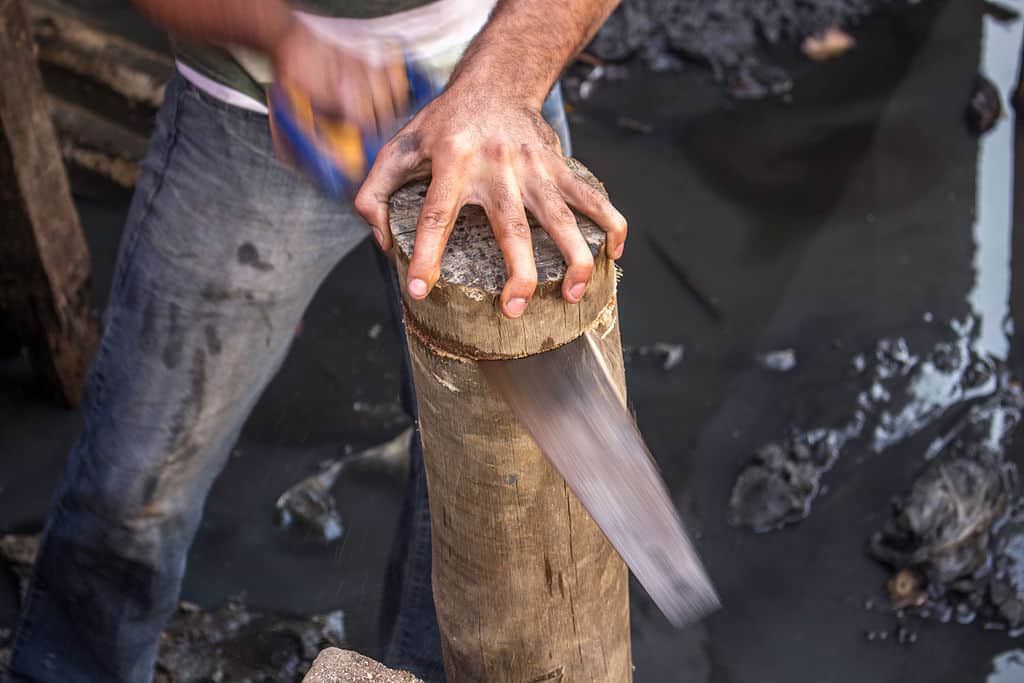
Sharpening a hand saw is manageable with the right tools: secure the saw in a vise, joint the teeth, set them, then file each gullet consistently.
It takes practice to do well, so don’t be discouraged by your first results. Consider practicing on an inexpensive old saw before you work on a good one.
We have to give special thanks to Wood By Wright for his excellent video. It helped us explain how to sharpen a hand saw clearly.
Sources
- Saw Sharpening 101, Popular Woodworking
- How to Sharpen Saw Blades, Popular Woodworking
.jpg)