How to Cut Plexiglass with a Jigsaw in Six Simple Steps

Contents
- What You Need To Cut Plexiglass With Jigsaw
- The Right Set Of Blades
- Clamps
- Measuring And Marking Tools
- Tape
- Appropriate Coolant
- Sandpaper
- Protection Gear
- How To Cut Plexiglass With A Jigsaw
- 1. Mark The Plexiglass Workpiece And Clamp It Securely
- 2. Fit The Right Jigsaw Blade And Make A Test Cut
- 3. Cover The Cut Line With A Masking Tape And Position The Jigsaw At The Start Of The Cutting Line
- 4. Cut Your Workpiece Along The Marked Cutting Line
- 5. Approach The Finishing With Care
- 6. Remove The Masking Tape And Smooth The Edge
- Conclusion
- Sources
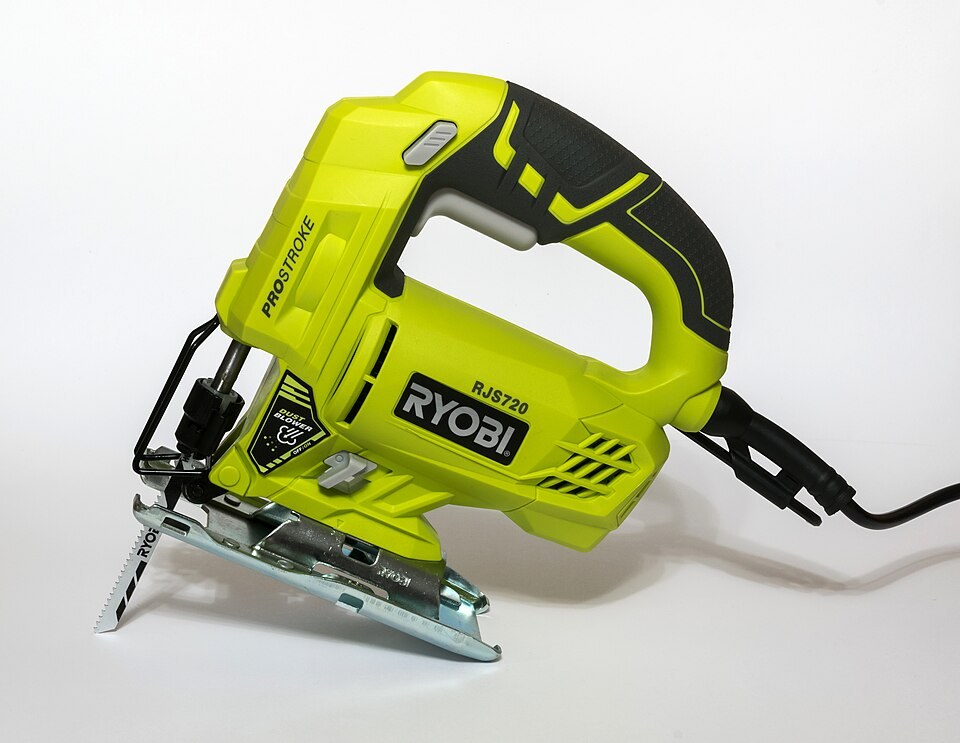
Photo by LorenaEscandellCarbonell, CC BY-SA 4.0, via Wikimedia Commons
Cutting plexiglass (acrylic sheet) with power tools can be tricky because it’s brittle, chips easily and melts if the blade gets too hot.
With the right blade, good support and a steady feed rate, you can cut plexiglass cleanly with a jigsaw.
In this post, we will tell you how to cut plexiglass with a jigsaw in six simple steps.
What You Need To Cut Plexiglass With Jigsaw
The Right Set Of Blades
Selecting the right blade is perhaps the most important thing when cutting acrylic with a jigsaw. Too much heat and friction melts the plastic, which can weld the cut back together behind the blade and leave a gummy edge.
Use a sharp blade made for plastics. ACRYLITE recommends at least two teeth engaged in the sheet’s thickness: about 16 TPI for 1/8-inch sheet and 8 TPI for 1/4-inch sheet. If the edge chips, use more teeth per inch; if it melts, use fewer teeth or a slower speed.
Don’t use a blade that has already cut wood or aluminum, since it will be dull enough to melt the acrylic.
Clamps
A set of clamps will come in handy for holding the plexiglass sheets firmly when cutting them. Vibration from the blade can chip or crack the sheet, so support it well. A straight board clamped near the cut line works as a fence for straight cuts and also reduces vibration.
Measuring And Marking Tools
Before making a cut on plexiglass, you need to mark the cutting line. If your plexiglass has a paper backing, you can mark it with a pencil. If it has a plastic film, use a fine marker.
Tape
Masking tape along the cutting line helps reduce chipping and keeps the jigsaw shoe from scratching the plexiglass.
Appropriate Coolant
When using a jigsaw to cut plexiglass, be ready to keep the blade cool to avoid melting the edge.
ACRYLITE suggests blowing compressed air on the blade to clear chips and cool it. A light mist of water also works. Avoid oils and solvents, since many chemicals can craze (crack) acrylic.
Sandpaper
Sandpaper will come in handy once you have finally cut the plexiglass to help clear rough edges made by the blade’s teeth.
Protection Gear
Acrylic chips fly when you cut, so wear safety glasses, gloves and hearing protection.
How To Cut Plexiglass With A Jigsaw
Before you can start working on the plexiglass, gather all the items and workpieces for easy access. You also need to put on the safety gear.
1. Mark The Plexiglass Workpiece And Clamp It Securely
The first step before you can start cutting your plexiglass is marking the cutting line. This will depend on the project you are working on. If your plexiglass came with a protective film or paper, leave it on. It helps reduce chipping and scratches.
Then, secure the workpiece so it can’t vibrate. Family Handyman recommends supporting the sheet underneath on both sides of the cut, for example by clamping it to 1/2-inch plywood.
Place scrap wood between the plexiglass and the clamp jaws to spread the pressure and prevent cracking.
2. Fit The Right Jigsaw Blade And Make A Test Cut
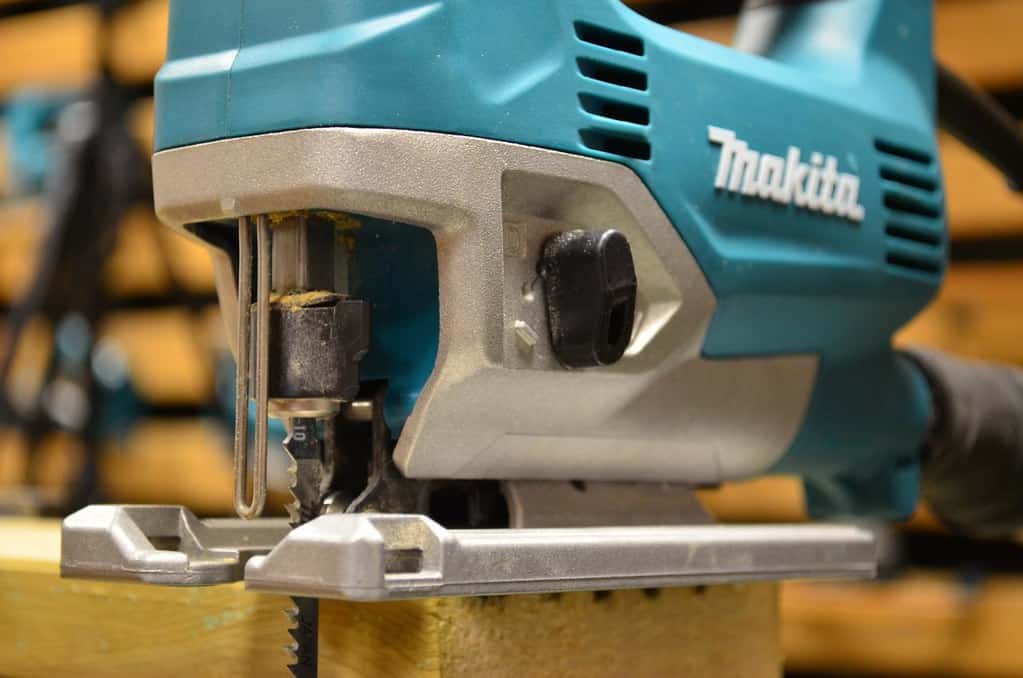
Now that the workpiece is secured, you need to get the jigsaw ready. First, you should identify the right blade and fix it on the jigsaw. Choose a sharp blade made for plastics with the tooth count described above.
Unplug the saw first. Most jigsaws today have a tool-free blade clamp, while older models may need an Allen key.
Make a test cut on scrap plexiglass of the same thickness first. It shows whether the blade and speed chip or melt the edge before you touch your workpiece.
3. Cover The Cut Line With A Masking Tape And Position The Jigsaw At The Start Of The Cutting Line
On the already marked plexiglass, take some masking tape and run it on the entire cutting line. Then, on top of the masking tape, draw another line that you will follow to make your targeted cut.
The masking tape helps reduce chipping along the edge of the cut.
If you are cutting a long piece of plexiglass, it is prudent to use a fence to guide the jigsaw all along. In such a case, the fence should be clamped well, so that the outer edge of the jigsaw shoe runs alongside it when making the cut.
Now, plug in the jigsaw and position it at the start of the cutting line, with the front of the shoe resting flat on the plexiglass and the blade not touching the edge. Turn off the orbital action if your saw has it.
Then, turn it on and let it reach speed before feeding the blade into the sheet.
4. Cut Your Workpiece Along The Marked Cutting Line
Holding the running jigsaw firmly with the shoe pressed flat, guide it along the marked line at a steady pace. Keep moving: if the blade lingers in one spot, heat builds up and the plastic melts.
If you see melted chips or the cut starts closing up behind the blade, stop and let things cool, then use air or a water mist as a coolant.
Don’t force the jigsaw. Too much pressure can crack the sheet or overheat the blade, so focus on tracing the line smoothly.
5. Approach The Finishing With Care
Even if you do everything right, how you complete the cut could ruin the entire project. Therefore, you should approach the end with caution to prevent the waste piece from tearing away the workpiece.
When nearing the end, make sure the offcut is supported, for example by the plywood underneath, so its weight doesn’t snap it off and crack the edge. If you support it by hand, keep your fingers well away from the blade’s path.
6. Remove The Masking Tape And Smooth The Edge
Now that you have made the anticipated cut, you need to confirm that the edge is as smooth as you anticipated. So, remove the masking tape or plastic cover to reveal the edge and check how smooth or rough it is. Do you like it?
If the edge has rough sections, sand them smooth with sandpaper, working from coarser to finer grits. Freshly cut acrylic edges can be sharp, so handle them with care.
Note: If you wanted to make an interior cut using a jigsaw, the process is a little different. In such a case, you should start by making a pilot hole. Use a large drill bit to make a hole that the jigsaw blade can fit. Then, place the blade inside the hole and carefully make your interior cut. Drill slowly with light pressure, since a standard twist bit can grab and crack acrylic.
Conclusion
Cutting plexiglass with a jigsaw doesn’t have to be complicated. Use a sharp blade with the right tooth count, support and clamp the sheet, tape the cut line, and keep the blade moving so it doesn’t melt the plastic.
If you are new to jigsaws, your first results might not be perfect, so practice on scrap.
Remember that even after making a clean, smooth cut, the chances are that it will still have some rough sections, especially at the start of the cutting line. So smooth them using sandpaper to enjoy an excellent cut line.
We want to give special thanks to seejanedrill for her demonstration.
Sources
- Can I cut acrylic sheet products with a saber, band, or jig saw?, ACRYLITE
- Ways to Successfully Cut Plexiglass, Family Handyman