How to Cut a Straight Line with a Jigsaw: Ultimate Guide
Contents
- How To Cut A Straight Line With A Jigsaw: The Must-Have Items
- Essentials
- A Straightedge Or Guide
- The Right Jigsaw Blades
- How to do a Long Straight Cut (Rip Cuts) with a Jigsaw
- 1. Mark The Cutting Line On The Workpiece And Determine Where To Position The Fence
- 2. Fit The Right Cutting Blade And Position The Jigsaw At The Start Of The Cutting Line
- 3. Run The Jigsaw Blade Steadily Along The Cutting Line
- How To Make A Short Straight Cut (Cross-Cut) With A Jigsaw
- 1. Mark The Workpiece And Check The Square Of The Blade
- 2. Position The Jigsaw And Carefully Follow The Cutting Line At 90 Degrees
- How To Make A Straight Cut With A Jigsaw Using A Rip Guide
- 1. Mark The Cutting Line And Fix The Rip Guide To The Jigsaw
- 2. Position The Jigsaw At The Edge And Follow The Cutting Line
- Conclusion
- Sources
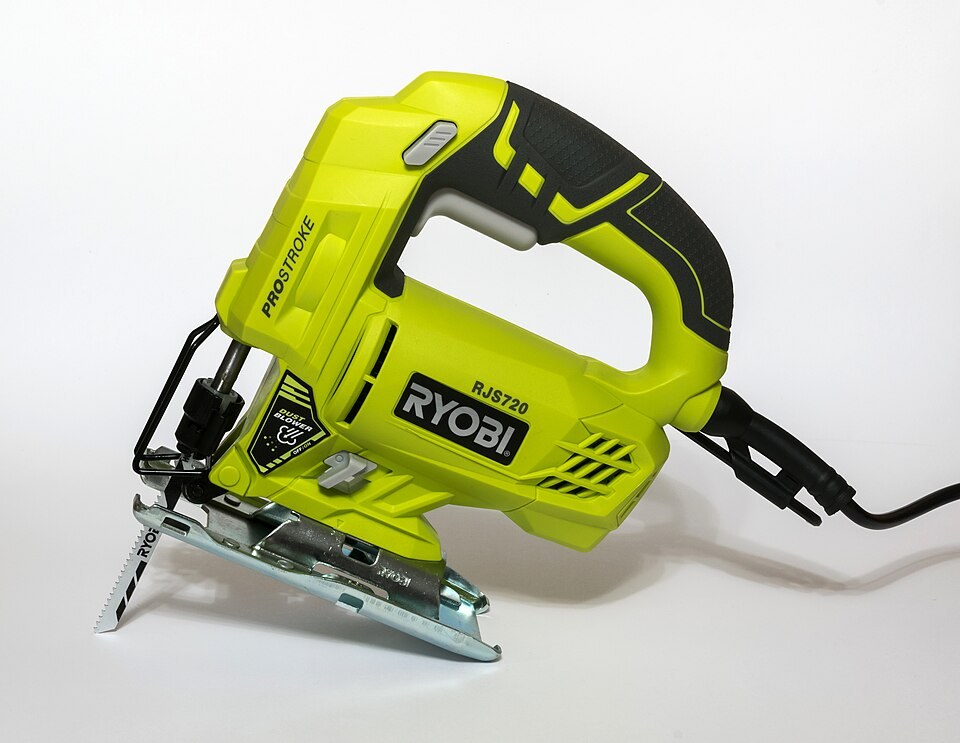
A jigsaw is designed for cutting curves, but it can also cut straight lines. So, how do you cut a straight line with a jigsaw?
To cut a straight line with a jigsaw, you need a clear cut line, a sharp blade suited to the material, and ideally a clamped straightedge to guide the saw. With the right blade, a jigsaw cuts wood, plastic, laminate, metal and even ceramic tile.
Below, I’ll walk through three methods and what to pay attention to.
How To Cut A Straight Line With A Jigsaw: The Must-Have Items
Using a jigsaw to cut a straight line on your workpiece depends on the nature of the cut that you intend to make. Jigsaws can make rip cuts, crosscuts, bevel cuts and plunge cuts. So, when you want to cut a straight line, here are the things that you need:
Essentials
The first thing that you must have is a way to draw a straight line on your workpiece. The two most important essentials for this are a pencil and a tape measure.
Then, you will also need the right jigsaw blade for the job. Thicker, wider blades flex less, so they track a straight line better.
A Straightedge Or Guide
Having a guide to direct the jigsaw is important to ensure you easily trace the straight cutline from the starting point to the end. To use a guide, it is also important to have a set of clamps for holding the guide and workpiece firmly on the bench as you work.
The Right Jigsaw Blades
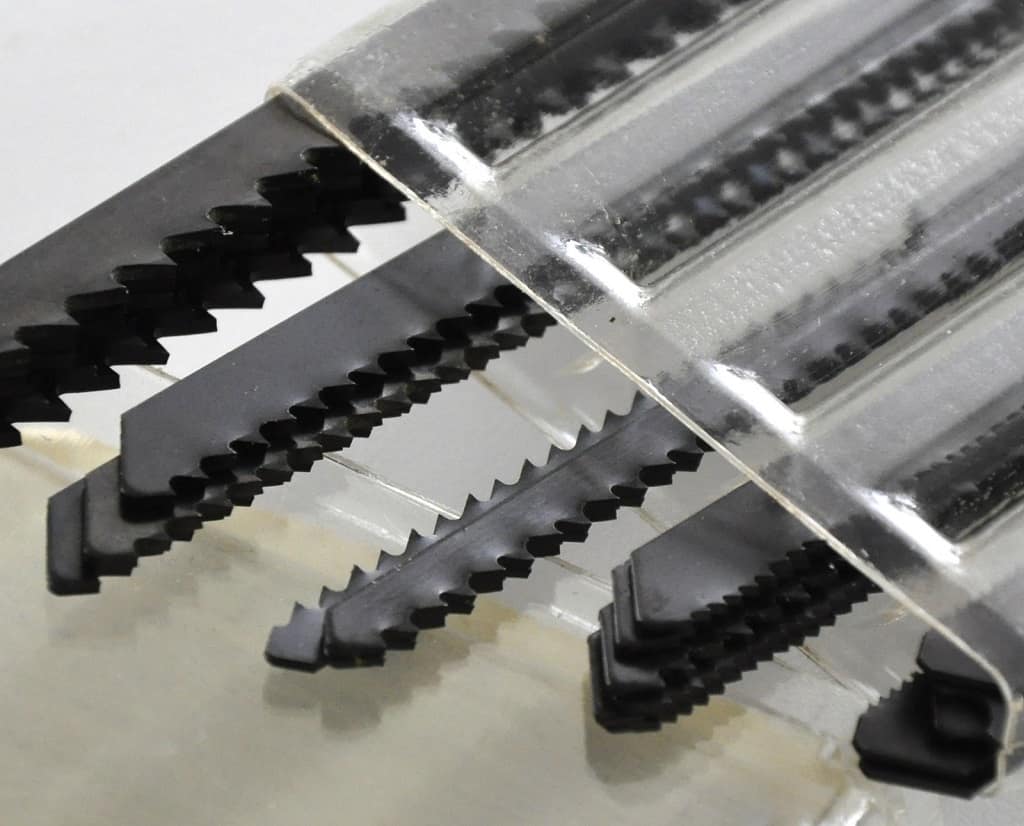
To cut a straight line, you need a blade that will not flex and wander away from the cutting line. It should remain stable even when you encounter tough parts of the wood.
Therefore, it is advisable to have a set of thick, wide blades with medium-sized teeth for straight cuts in wood.
Standard jigsaw blades cut on the upstroke, so most splintering happens on the top face. Reverse-tooth blades cut on the downstroke, which reduces tear-out on the top surface. Alternatively, cut with the good face down.
How to do a Long Straight Cut (Rip Cuts) with a Jigsaw
A long straight cut (rip cut) is done parallel to the wood grain. To make clean long straight cuts on laminate, wood, or sheet metal, you should use a fence.
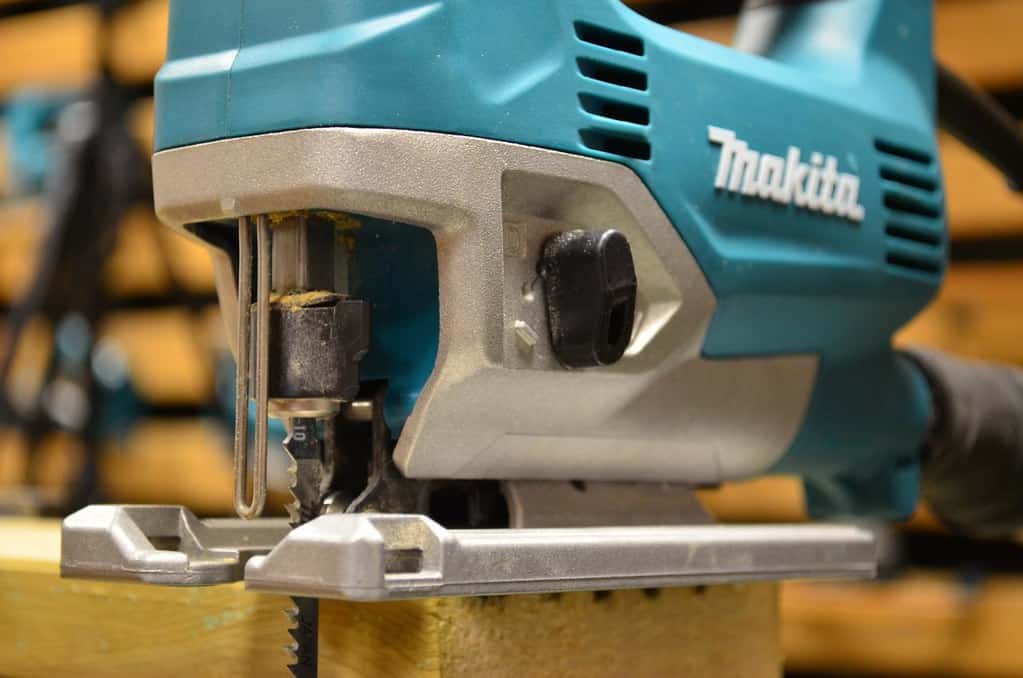
To create a fence for the jigsaw, you need to clamp a straight edge running parallel to the line of the cut. When making the cut, the jigsaw’s shoe will slide against the fence. This implies that you need to clamp the fence at the right distance.
So here are the steps to follow:
1. Mark The Cutting Line On The Workpiece And Determine Where To Position The Fence
Using a pencil and a tape measure, mark where you want to make the cut. The next thing is positioning the fence. But where do you place it?
It needs to be some distance from the cutting line. This is the offset distance between the side of your jigsaw blade and the edge of its shoe. Then, clamp the fence ready for the cut.
2. Fit The Right Cutting Blade And Position The Jigsaw At The Start Of The Cutting Line
When making a rip cut, it is important to ensure you use the right blade, depending on the workpiece material. It is advisable to go for a blade with medium-sized teeth for a clean cut.
Position the jigsaw at the edge of the workpiece with the front of the shoe resting flat on it and against the fence. Line the blade up with the cutting line, with the teeth not yet touching the wood. Then turn the saw on and let it reach full speed before the blade contacts the material.
For straight cuts, set the orbital action low or off. Higher settings cut faster but less accurately.
3. Run The Jigsaw Blade Steadily Along The Cutting Line
Firmly holding the jigsaw and keeping the shoe against the fence, follow the cutting line steadily. The jigsaw will do the work, ripping the wood along the marked cutting line.
Note that you should not force the jigsaw against your workpiece. Instead, the focus should be on maintaining the jigsaw shoe against the clamped fence and the blade on the cutting line.
NOTE: Depending on the type of the blade you are using, and the workpiece, it might be important to adjust the jigsaw speed for a cleaner cut.
If you make many long cuts, give the motor a break now and then. When you pause, let the blade come to a complete stop before setting the saw down, and unplug it before changing blades.
How To Make A Short Straight Cut (Cross-Cut) With A Jigsaw
To make a short straight cut using a jigsaw is relatively easy; draw the straight cutting line, place the jigsaw at the start, turn it on, and finally follow the line to the end. Cross-cuts are done against the grain.
In many cases, lumber and wooden boards are made with their grains moving lengthwise. Because of this, cross-cuts on such boards are short straight cuts. So here are the key steps to follow:
1. Mark The Workpiece And Check The Square Of The Blade
First, it is important to measure the workpiece with a tape measure and use a pencil to mark the cutting line. Also, make sure to note the waste part from the cut. Then trace the line with a square. The square works very well when dealing with small lumber or very short pieces.
Checking the square of the blade is one of the positive habits in carpentry because it helps to ensure it is square (perpendicular) to the shoe. If the blade is slightly bent or misaligned, there is a danger of ruining the cut in the middle. A worn or bent blade wanders, so start with a fresh blade for the cleanest cut.
2. Position The Jigsaw And Carefully Follow The Cutting Line At 90 Degrees
With the workpiece marked and the right blade on the jigsaw, rest the front of the shoe flat on the workpiece with the blade clear of the edge. Turn the tool on and let it reach full speed.
Then steadily feed the blade into the wood. Don’t start the saw with the blade touching the material, since that makes it jump. Pressing the shoe firmly down keeps it from bouncing.
With the workpiece clamped down and your hands clear of the blade’s path above and below the board, carefully follow the cutting line. This should give you a nice straight cut.
How To Make A Straight Cut With A Jigsaw Using A Rip Guide
Some jigsaw models allow you to use guides, especially when cutting straight lines down long pieces. Unlike using a fence that is clamped onto the workpiece, the rip guide is fixed on the jigsaw so that they move together as you follow the cutting line.
Here are the steps to follow:
1. Mark The Cutting Line And Fix The Rip Guide To The Jigsaw
Using a pencil and a square, mark the cutting line on the workpiece. The rip guide rides along the board’s edge, so make sure that edge is straight. With the saw unplugged, set the guide so the blade sits on your cutting line.
You can do this by placing the jigsaw in position and measuring from the blade to the edge of the workpiece.
2. Position The Jigsaw At The Edge And Follow The Cutting Line
Just like making a straight cut with the help of a fence, position the jigsaw at the start of the cutting line, bring it to speed, and follow the cutting line steadily. Put a lot of focus on ensuring the blade follows the cutting line and slides together with the rip guide for a smooth cut.
Conclusion
To cut a straight line with a jigsaw, use the right blade, clamp the workpiece and a guide, and follow the line steadily without forcing the saw.
Your first cuts might not be perfectly smooth, but they will improve with practice. Wear safety glasses, and use hearing protection for long sessions.
Special thanks to Woodies TV and Rockler Woodworking and Hardware. Your videos were truly awesome in making this guide complete.
Sources
- How to Get The Most Out of Your Jigsaw, Family Handyman
- A Comprehensive Guide to Choosing and Using a Jigsaw, This Old House